Installation
The following steps are here to help you initialize your new website. If you don’t know Hugo at all, we strongly suggest you learn more about it by following this great documentation for beginners.
Create your project
Hugo provides a new command to create a new website.
hugo new site <new_project>
Install the theme
Install the Hugo-theme-learn theme by following this documentation
This theme’s repository is: https://github.com/matcornic/hugo-theme-learn.git
Alternatively, you can download the theme as .zip file and extract it in the themes directory
Basic configuration
When building the website, you can set a theme by using --theme option. However, we suggest you modify the configuration file (config.toml) and set the theme as the default. You can also add the [outputs] section to enable the search functionality.
# Change the default theme to be use when building the site with Hugo
theme = "hugo-theme-learn"

# For search functionality
[outputs]
home = [ "HTML", "RSS", "JSON"]
Create your first chapter page
Chapters are pages that contain other child pages. It has a special layout style and usually just contains a chapter name, the title and a brief abstract of the section.
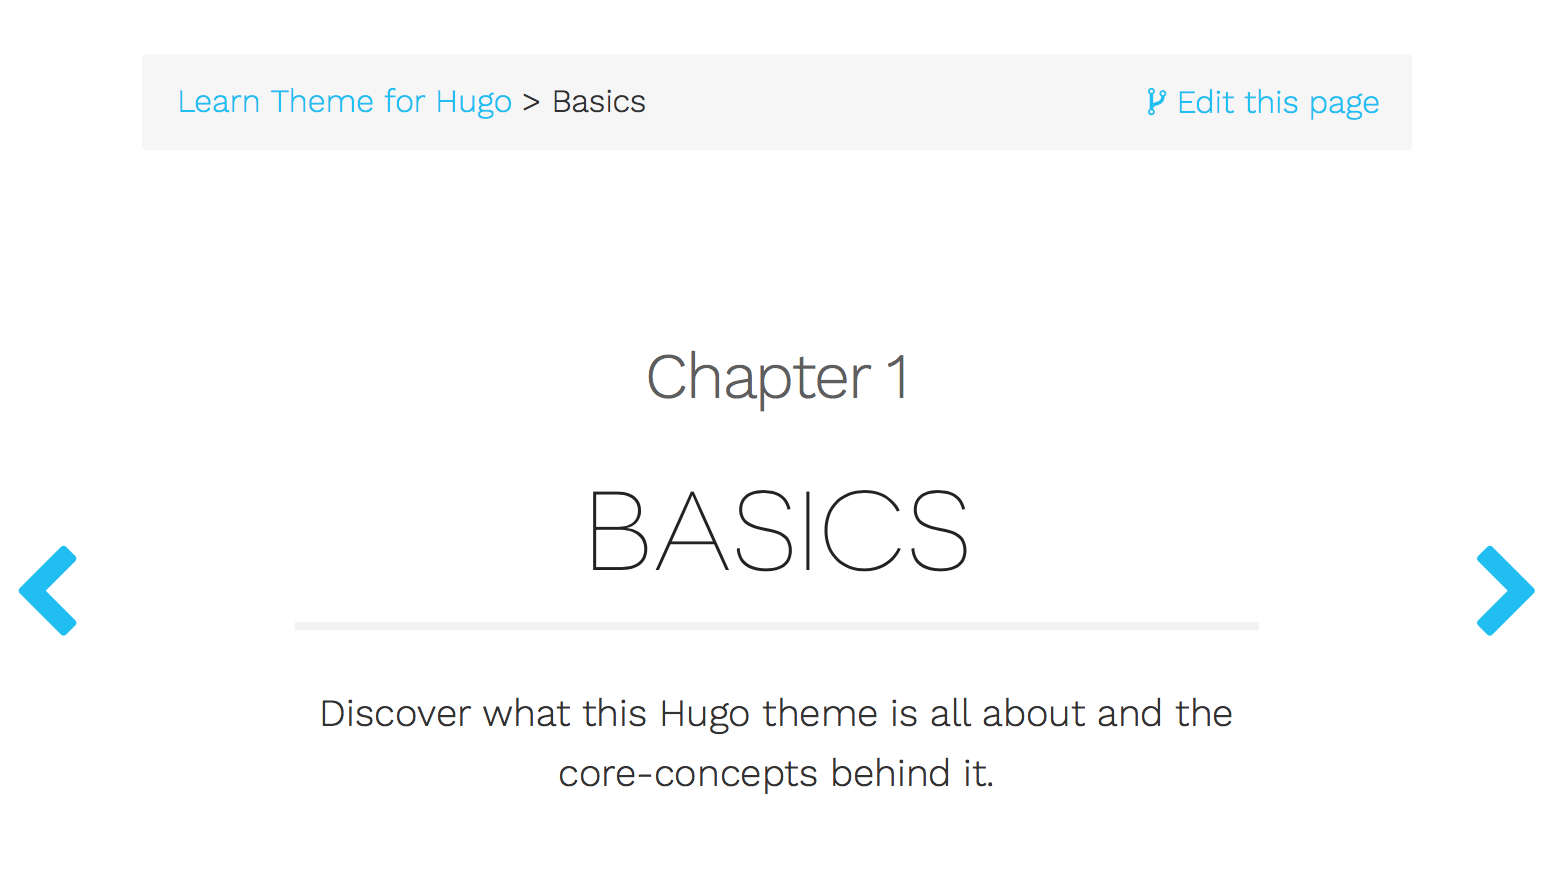
### Chapter 1

# Basics

Discover what this Hugo theme is all about and the core concepts behind it.
renders as
Hugo-theme-learn provides archetypes to create skeletons for your website. Begin by creating your first chapter page with the following command
hugo new --kind chapter basics/_index.md
By opening the given file, you should see the property chapter=true on top, meaning this page is a chapter.
By default all chapters and pages are created as a draft. If you want to render these pages, remove the property draft: true from the metadata.
Create your first content pages
Then, create content pages inside the previously created chapter. Here are two ways to create content in the chapter:
hugo new basics/first-content.md
hugo new basics/second-content/_index.md
Feel free to edit thoses files by adding some sample content and replacing the title value in the beginning of the files.
Launching the website locally
Launch by using the following command:
hugo serve
Go to http://localhost:1313
You should notice three things:
- You have a left-side Basics menu, containing two submenus with names equal to the
titleproperties in the previously created files. - The home page explains how to customize it by following the instructions.
- When you run
hugo serve, when the contents of the files change, the page automatically refreshes with the changes. Neat!
Build the website
When your site is ready to deploy, run the following command:
hugo
A public folder will be generated, containing all static content and assets for your website. It can now be deployed on any web server.
This website can be automatically published and hosted with Netlify (Read more about Automated HUGO deployments with Netlify). Alternatively, you can use Github pages